 windowarea.com
We may be compensated if you purchase through links on our website. Our team is committed to delivering honest, objective, and independent reviews on home products and services.
More
Project details
Skill
1 out of 5EasyYou’ll need to make a few miter cuts, but the assembly is basic.
Cost
Estimated Time
We may be compensated if you purchase through links on our website. Our team is committed to delivering honest, objective, and independent reviews on home products and services.
More
Window cornices are decorative, box-like structures that sit above windows, adding architectural interest, hiding hardware, and improving energy efficiency. In this guide, we’ll walk you through the process of building and installing a custom window cornice, from selecting materials to adding finishing touches.
Materials and Tools Needed for Your DIY Cornice
Before you begin your cornice project, you’ll need to gather all the necessary materials and tools.
Materials
- 1×8 poplar boards for the front and sides
- 1×10 poplar board for the top (ripped to 8½ inches)
- 1×4 poplar board for the French cleat
- 3⅝-inch primed-pine crown molding
- ¾-inch primed pine ogee molding
- Primed-pine cap molding
- Wood glue
- 1½-inch and ¾-inch brad nails
- 2½-inch wood screws
- Wood filler
- Paint (in the same sheen as your existing casing)
Required Tools
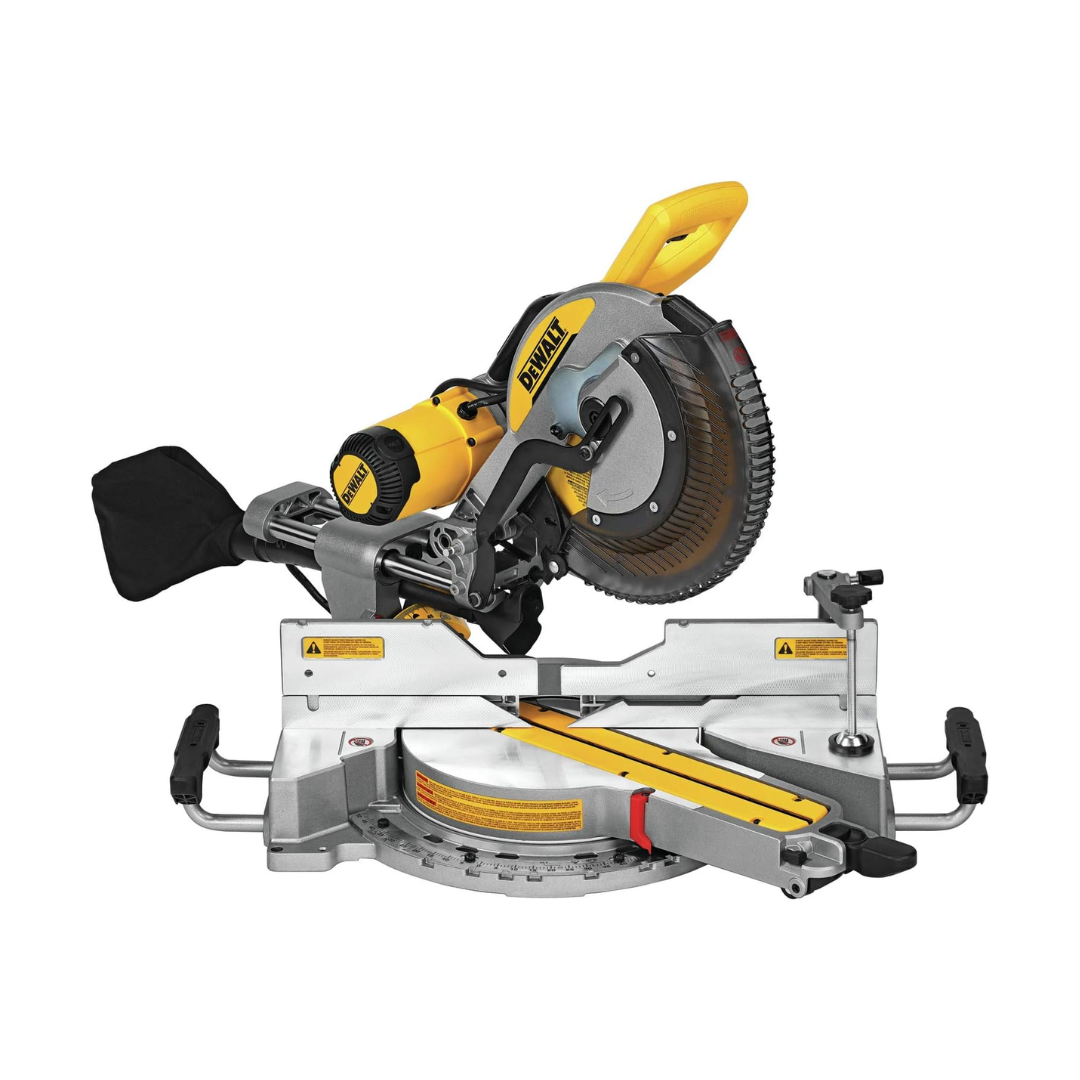
- Miter saw or circular saw
- Pneumatic nailer or hammer
- Drill with a countersink bit
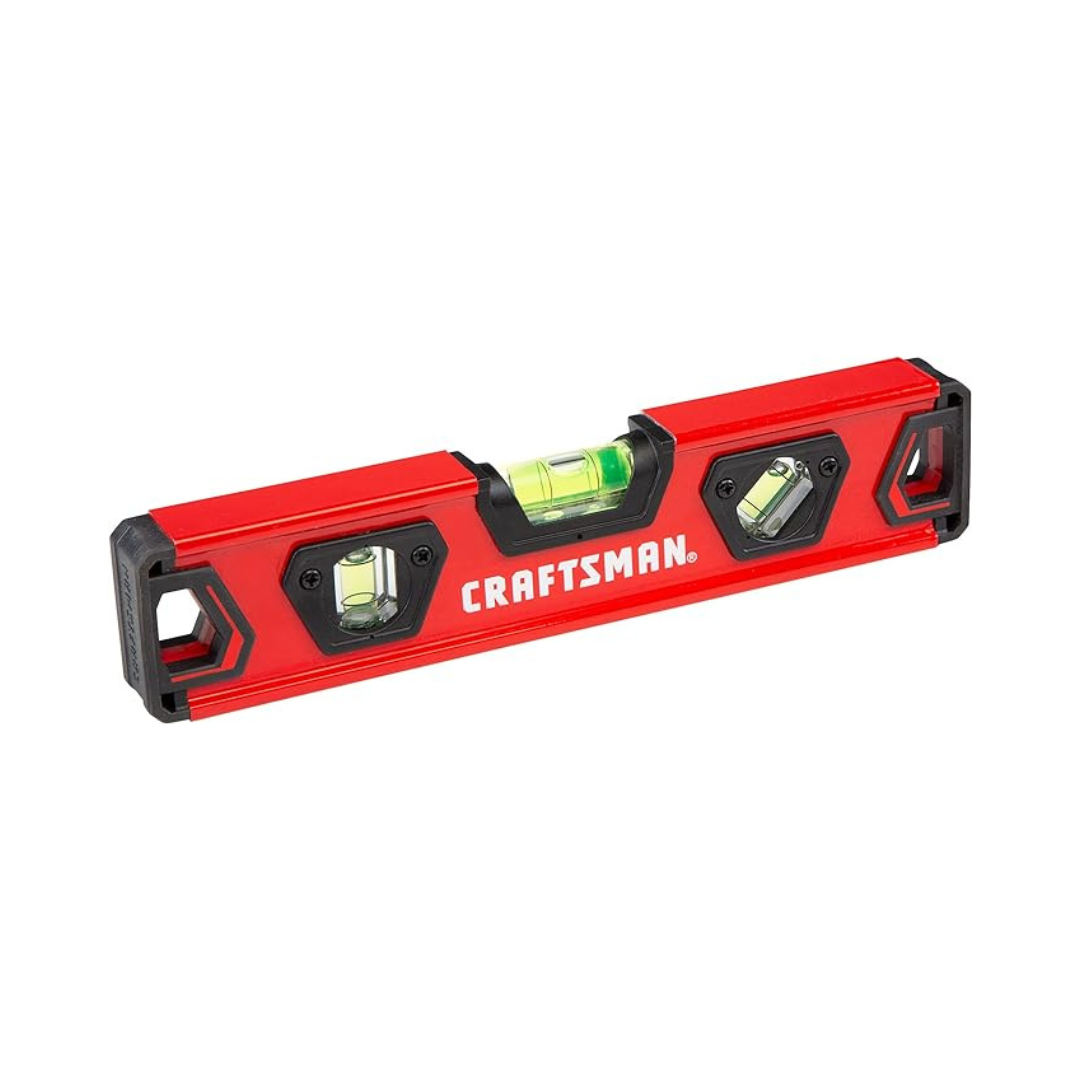
- Level
- Measuring tape
- Pencil
- Sandpaper
- Paintbrush
- Corner clamps
- Safety glasses and dust mask
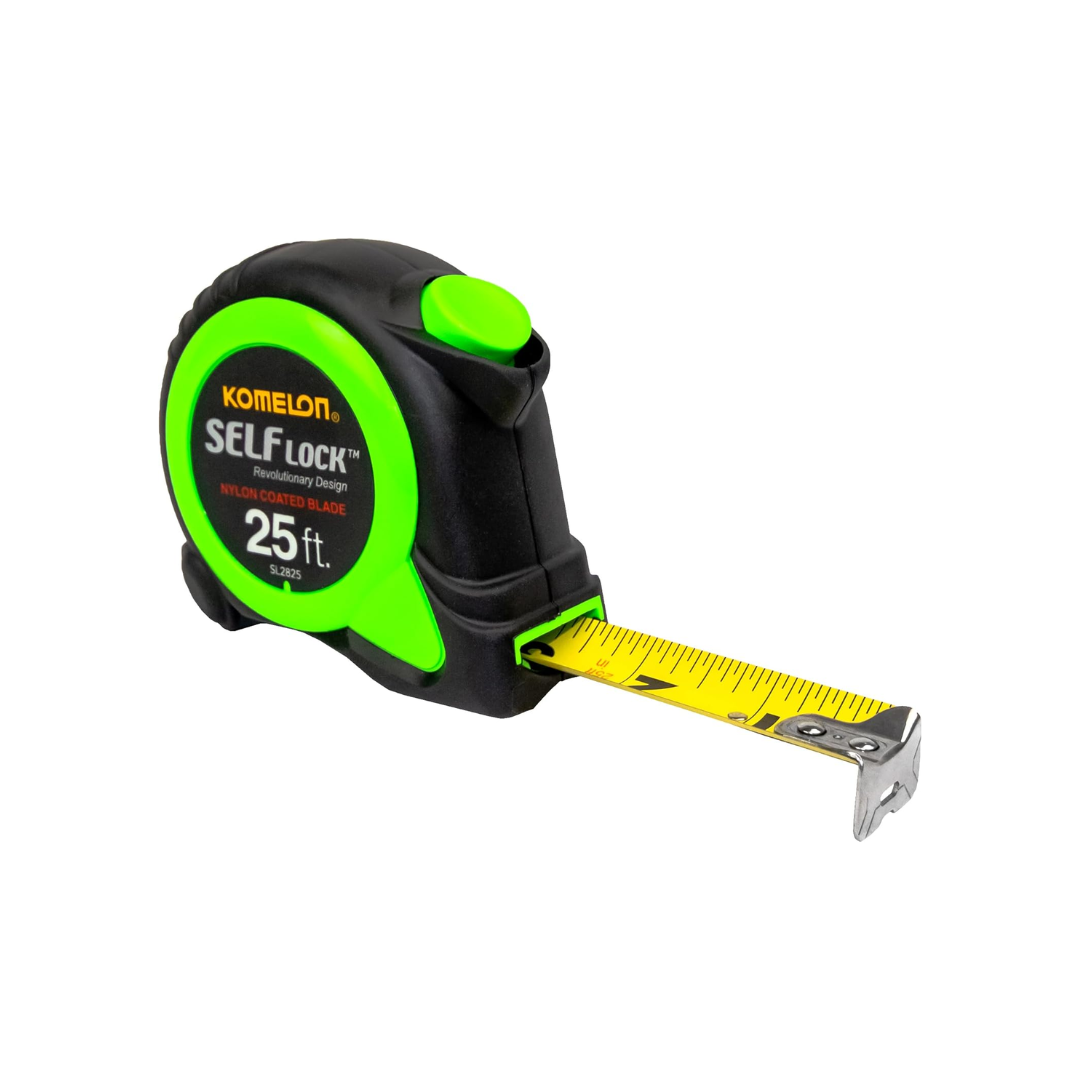
 Tape measure
- Miter saw
- Corner clamps
- Pneumatic brad nailer
- Circular saw
- sandpaper – 220-grit
- Paint brush
- level – 2-foot
- Drill/driver


Designing Your Window Cornice
When designing your window cornice, consider the style of your room and the dimensions of your window. The style should complement the existing decor in your room. Here are some popular cornice styles to consider:
- Simple box: A clean, modern look with straight lines
- Curved: Features a gentle arc for a softer appearance
- Scalloped: Incorporates decorative curves along the bottom edge
- Layered: Uses multiple tiers of molding for a more elaborate look
- Fabric-covered: Combines wood structure with fabric for a softer feel
Determining Proper Dimensions
Accurate measurements ensure a well-fitted cornice. Follow these guidelines to determine the proper dimensions:
- Width: Measure the width of your window, including any trim. Add 2-4 inches on each side for overhang.
- Height: Typically, cornices are 1/5 to 1/6 the height of the window. For a 60-inch tall window, aim for a 10–12 inch high cornice.
- Depth: Ensure the cornice is deep enough to clear curtain rods and finials. Add at least one inch to the projection of your curtain rod.
For example, if you have a 32-inch-wide window with a curtain rod that measures 35 inches from finial to finial and stands five inches off the wall, you might design your cornice to be 38 inches wide, 7 1/4 inches tall, and 6 1/8 inches deep. This allows for proper coverage and clearance.
In the video below, Tom Silva shares how to cut crown molding.
Window Cornice Installation Techniques
Before building your window cornice, you’ll first need to understand how to create a French cleat, and how to use it to mount your cornice.
Creating a French Cleat
The French cleat you create will serve as the mounting mechanism for your cornice. This clever system allows for easy installation and removal if needed. To create a French Cleat:
- Locate the studs above your window using a stud finder.
- Position the remaining half of the French cleat on the wall, with the angled cut facing up and out.
- Use a level to ensure the cleat is perfectly straight.
- Mark the stud locations on the cleat.
Mounting Your Cornice
With the French cleat prepared, you’re ready to mount your cornice:
- Drill pilot holes into the wall cleat at the marked stud locations.
- Secure the wall cleat using 2½-inch wood screws, ensuring it’s firmly attached to at least two studs.
- With a partner’s help, lift the cornice and carefully lower it onto the wall cleat.
- The angled cuts of the two cleat halves will interlock, securing the cornice in place.
This method allows for easy removal if you need to paint or make adjustments in the future.
Step 1: Preparing the Cuts

Here’s a list of cuts you should make before you start your cornice project:
- 1×8 poplar front piece: one at 38 inches from long point to long point
- 1×8 poplar sides: two at 6⅛ inches
- 1×4 poplar French cleat: one at 36½ inches
- 1×10 poplar top piece ripped to 8½ inches: one at 42½ inches
- 3 5/8-inch primed-pine crown molding: Cut to fit.
- 3/4-inch primed pine ogee molding: Cut to fit.
- Primed-pine cap molding: Cut to fit.
We made the frame of our cornice (not including the top and moldings) 38 inches wide by 6 1/8 inches deep by 7 1/4 inches tall to cover a 32-inch-wide window with a curtain rod that measures 35 inches from finial to finial and stands a maximum of 5 inches off the wall.
Step 2: Build the Frame

Follow the cut list to size the pieces. For the front and sides, make 45-degree miter cuts where they meet; make 90-degree cuts where the sides will meet the wall. Use corner clamps and wood glue to secure the front to the sides, then tack the corners with a pneumatic nailer and 1½-inch brad nails. If you don’t have a nail gun, any of our most recommended nail guns are appropriate for this job. To make the French cleat, set your circular saw blade to 45 degrees and rip a 1×4 in half. Take care to make your circular saw cut as straight as possible. Sandwich one half of the cleat between the sides, with the cut edge facing the interior of the frame and pointing down, and secure it with glue and brad nails. Position the top flush at the back and overhang the front and sides evenly; secure it with glue and brad nails.
Step 3: Attach the Molding

Measure the sides of the cornice and cut the crown, ogee, and cap molding to fit, with 45-degree miter cuts from a miter saw at the outside corners and 90-degree cuts where the pieces will meet the wall. Install all the sidepieces with wood glue and ¾-inch brad nails, then measure and miter-cut the front pieces of molding to fit, and install. For the crown, butt the top edge against the overhang before attaching it. If you don’t have one already, read our list of recommended miter saws when selecting a tool for this job.
Step 4: Prep and Paint

Fill nail holes with wood filler, let it dry, and sand it smooth. Apply two coats of paint in the same sheen as your existing casing.
Step 5: Install It

Position the bottom of the French cleat above the window with the cut edge facing the wall and pointing up. Level it, then drill and countersink pilot holes into at least two studs. Secure it with 2 1/2-inch wood screws. With a partner, lift the cornice and lower it onto the cleat.
Customization Options for Your Window Cornice
Once you’ve completed the basic construction of a window cornice, you can explore various customization options to make it truly unique and suited to your decor. Here are some things you can do to customize your cornice.
Fabric-Covered Cornices
For a softer look or to match specific decor elements, consider covering your cornice with fabric:
- Cut a piece of batting slightly larger than your cornice front and sides.
- Wrap the batting around the cornice and secure it with staples on the back.
- Cut your chosen fabric, allowing extra for wrapping.
- Stretch the fabric over the batting, folding the edges neatly, and staple it to the back of the cornice.
- For a finished look, cover the stapled edges with a strip of coordinating fabric or ribbon.
Adding Decorative Elements
Enhance your cornice with decorative touches to make it stand out:
- Apply wood appliques or carved elements before painting for added dimension.
- Use metallic paint or gilding for a touch of glamour.
- Add trim or braid along the bottom edge for extra visual interest.
- Incorporate stenciled designs or patterns for a custom look.
Maintenance and Care for Your Window Cornice
Regular maintenance is key to keep your window cornice looking its best. Follow these tips:
- Dust regularly with a soft, dry cloth or duster to prevent buildup.
- For painted cornices, wipe down with a slightly damp cloth as needed, avoiding excess moisture.
- If your cornice is fabric-covered, vacuum gently with an upholstery attachment to remove dust and debris.
- Check periodically for any loose molding or hardware, and reattach as necessary.
- Touch up paint as needed to keep the finish looking fresh.
Troubleshooting Common Window Cornice Issues
Even with careful planning and execution, you may encounter some challenges during your cornice project. Here are solutions to common issues with window cornices.
Addressing Fit Problems
If your cornice is too wide, carefully sand down the sides for a better fit. If it’s too narrow, try adding thin strips of wood to the sides to extend the width.
If you have depth issues, adjust the position of your curtain rod if possible, or consider rebuilding the cornice with adjusted measurements.
Fixing Paint Imperfections
For drips or uneven paint coverage, lightly sand the affected area and reapply the paint. If the paint color doesn’t match your trim, consider repainting both the cornice and trim for a cohesive look.
For a smoother finish, pick out a foam roller instead of a paintbrush for the final coat.
Source: https://www.thisoldhouse.com/windows/21016601/how-to-build-a-window-cornice
You may also like

